
How to create event invites and signup forms
By Sophia Skinbjerg | sophia.skinbjerg@ungapped.com
So you want to host an event. But like a lot of marketers, you might be feeling a little bit lost in where to start. How do you create a signup form? What should you include in an invitation? How often should you remind people about your event? Are you going to be able to do all the creative work yourself or are you going to need a designer?
To help answer those questions and more, we’ve outlined five elements that are important in running any successful event. If you want the most out of this post, download a copy of our event invites and signup form template – it’s free!

Part I – Signup Form
The most important part of getting more people to your event is having a signup form that captures the right details and is reliable in assigning the correct information to the correct contact. But what information do you ask for and how should it be formatted?
We’ve outlined a structure in the free template (download here) that we like to use for almost all of our events. This is because it has proved effective time and time again in getting more signups for a variety of different events, from launch parties to breakfast seminars. Check out a preview below:
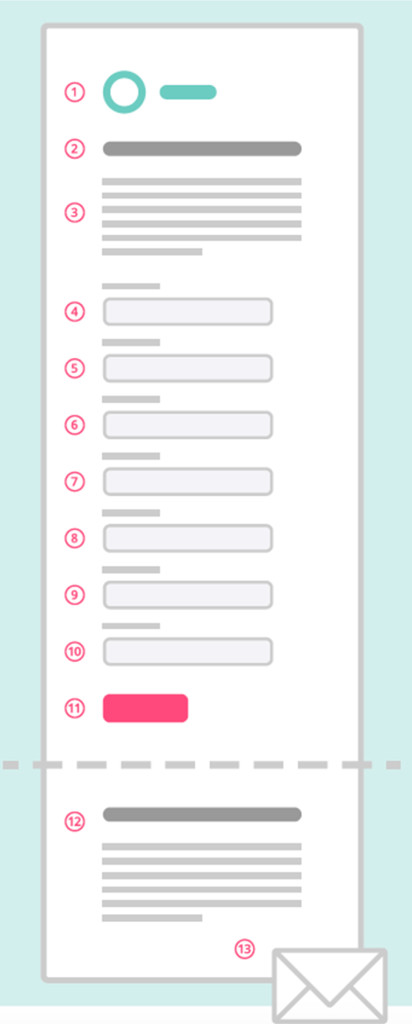
- Your logo goes here – it can be centered, aligned-left or aligned-right. The choice is up to you.
- Here is your header – like the name of your event or an official “You’re invited to our event”. Keep it short.
- Event description – Include date, time, duration, address, whom the event is for, costs, and dress code. You can include calendar downloads and links to maps here.
- Email field – Here is where you need to capture the email address of your guest. This should be placed above other fields and made mandatory to complete.
- First name field – Here is where you need to capture your guests’ name. You can just label this field ‘name’ but if it’s important that you get both first and last name, then separate the two fields.
To see the complete template, just download your copy here.
Part II – Invitation Mailing
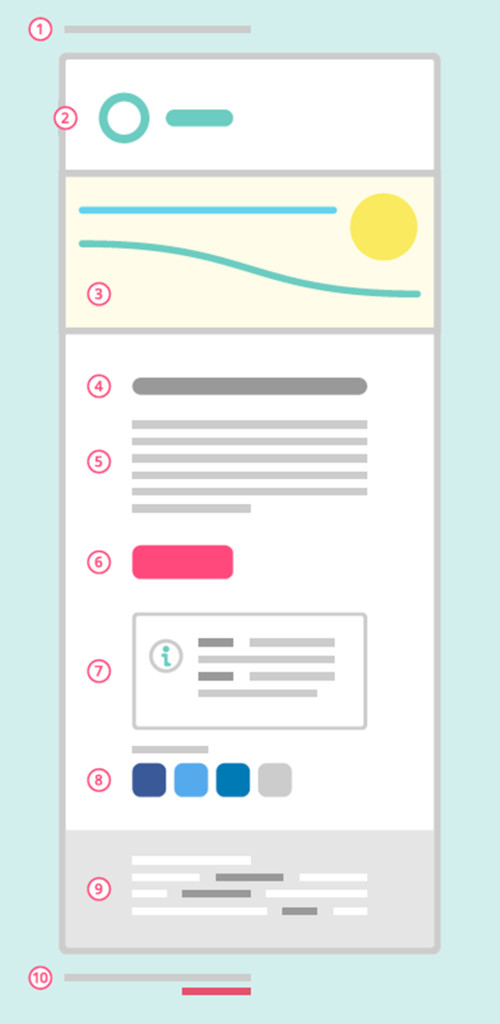
You’ll likely want to send out an invite to your event to a list or group of people that you know will be interested to attend. But what information do you include and how should it be formatted?
Again, there are a million possibilities but we’ve outlined a structure that we like to use because it has proved effective in getting more signups for a variety of different events.
To see the full structure, download a copy of the template here.
The design of this mailing is also really easy replicate (and customize) without the help of a designer if you’re using Ungapped. Simply drag and drop the content blocks into your mailing draft and invitations will look sleek in minutes.
Related: Crafting an email subject line that sells
Part III – Confirmation Mailing
Sometimes when you get a new signup, you will want to send a confirmation or receipt – especially if a purchase was made to attend your event or if guests need a ticket to get through the door. A confirmation mailing is quite similar to an invite but now includes information specific to an individual rather than generalized to the whole guest-list. Try to include:
- A pre-header
- Your logo
- A header image
- A header/title
- An event description
- A call-to-action
- Your company details
- Unsubscribe options
Want an image of what this could look like? Download the free template here.
Part IV – Reminder Mailing
If you’ve had your signup form open for more than a week, it’s usually a good idea to send a reminder mailing a few days before your event. The benefits are for both you and your guests because;
- Your guests may forget and may not show up
- Knowing in advance who cannot attend gives you the opportunity to further promote your event
- If people can’t make it, people on a waiting list get a chance to attend
Pairing a reminder mailing with a reminder text message is also a great way to boost your customer experience.
Part V – Reminder Text Message
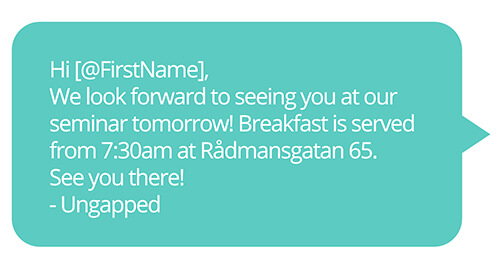
The final part of creating event invites and signup forms is to create a reminder sent via text message. It’s a good idea to think of this as a “last minute reminder” that you send either the day before or on the day of your event. Given that this is such a short communication channel, include just critical event info (place and time), any last minute changes or sensitive information that shouldn’t be passed on through other channels e.g. door codes.
Download your template and get started
To save yourself time in navigating back to this post, download your free templates here.